
Methods
What the work actually looks like
Photographs and a short walkthrough from our own crawlspace jobs. Captions describe only what is in the frame — the method, and why that detail matters in a Manitoba crawlspace.
Methods
Details that decide whether a system lasts
The details below are what separate a system that holds for decades from one that fails in its third winter. These are photographs from our own jobs.
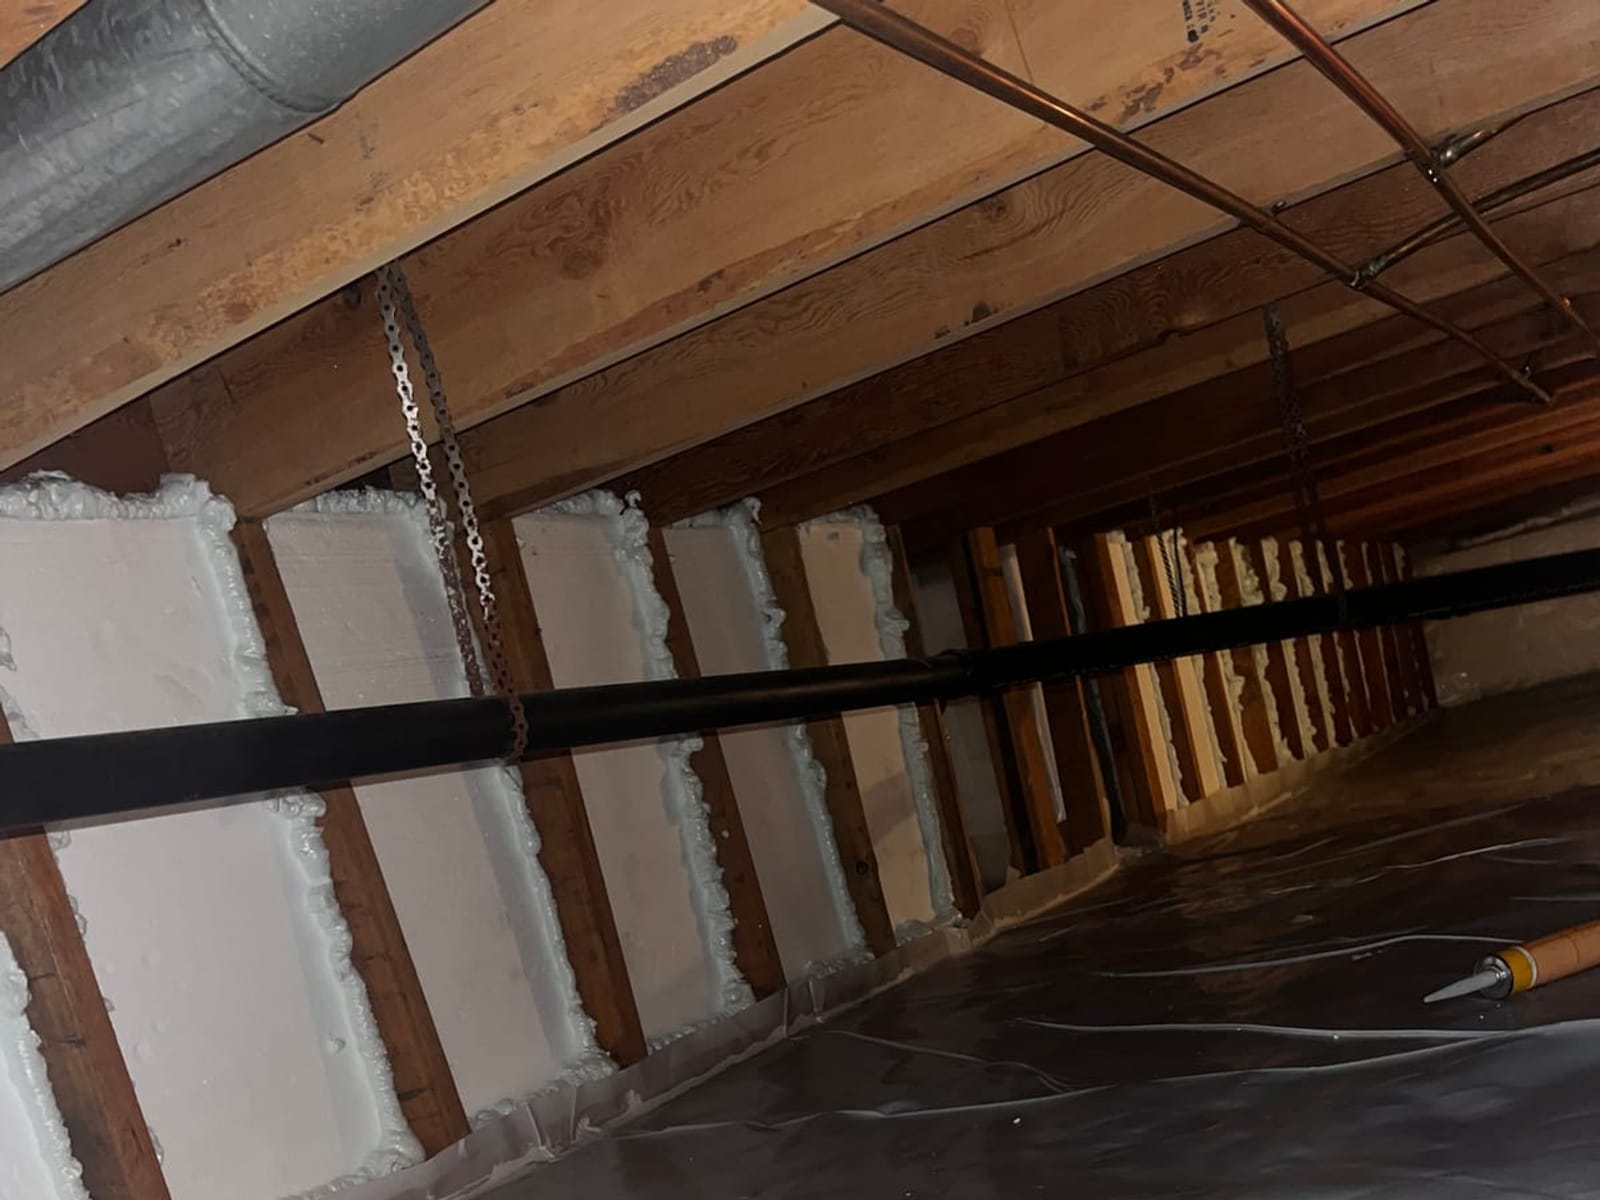
Rim joist sealed, barrier down
Rigid foam cut to each joist bay at the rim and foamed around every edge, with the floor membrane run up to meet it. The rim joist is where most of the heat and most of the winter moisture leave a Winnipeg crawlspace, and it is the part a vapour barrier alone never fixes.
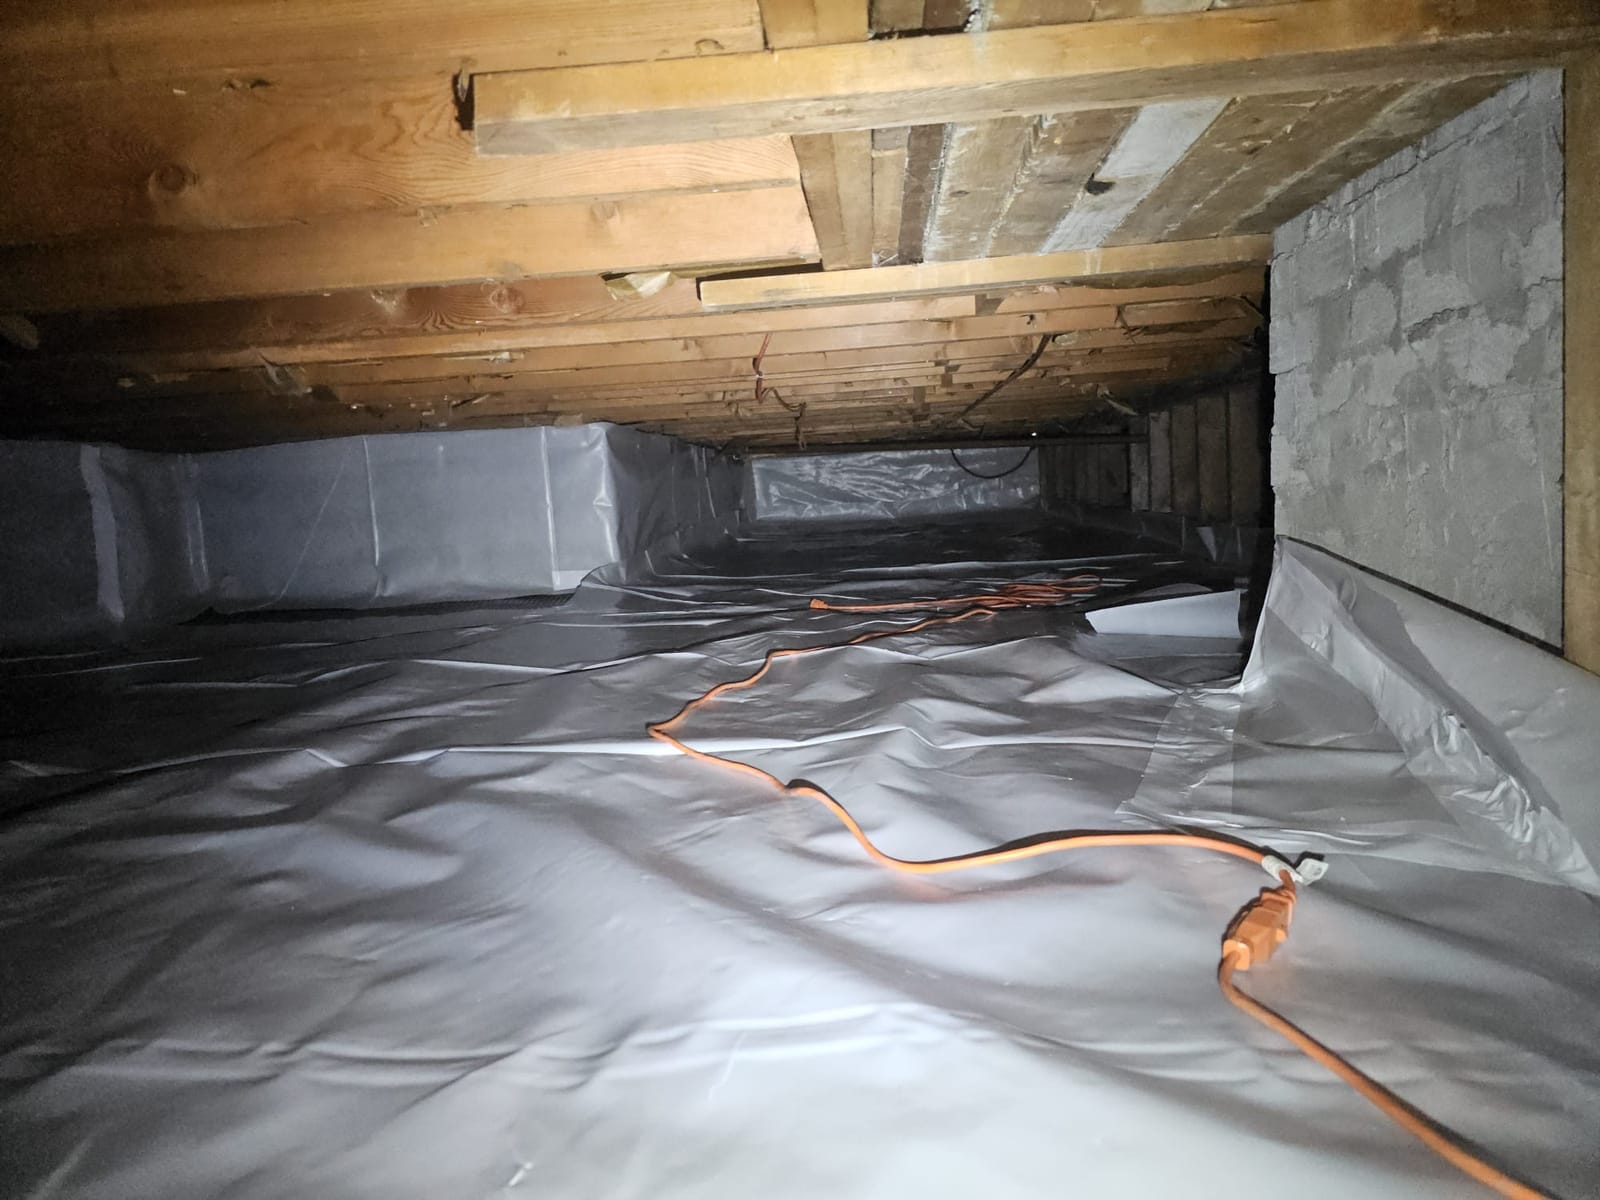
Membrane carried up the foundation wall
The barrier does not stop at the soil — it turns up the block and is terminated against the wall. Left loose at the perimeter, moisture simply travels around the edge and the floor membrane becomes decorative.
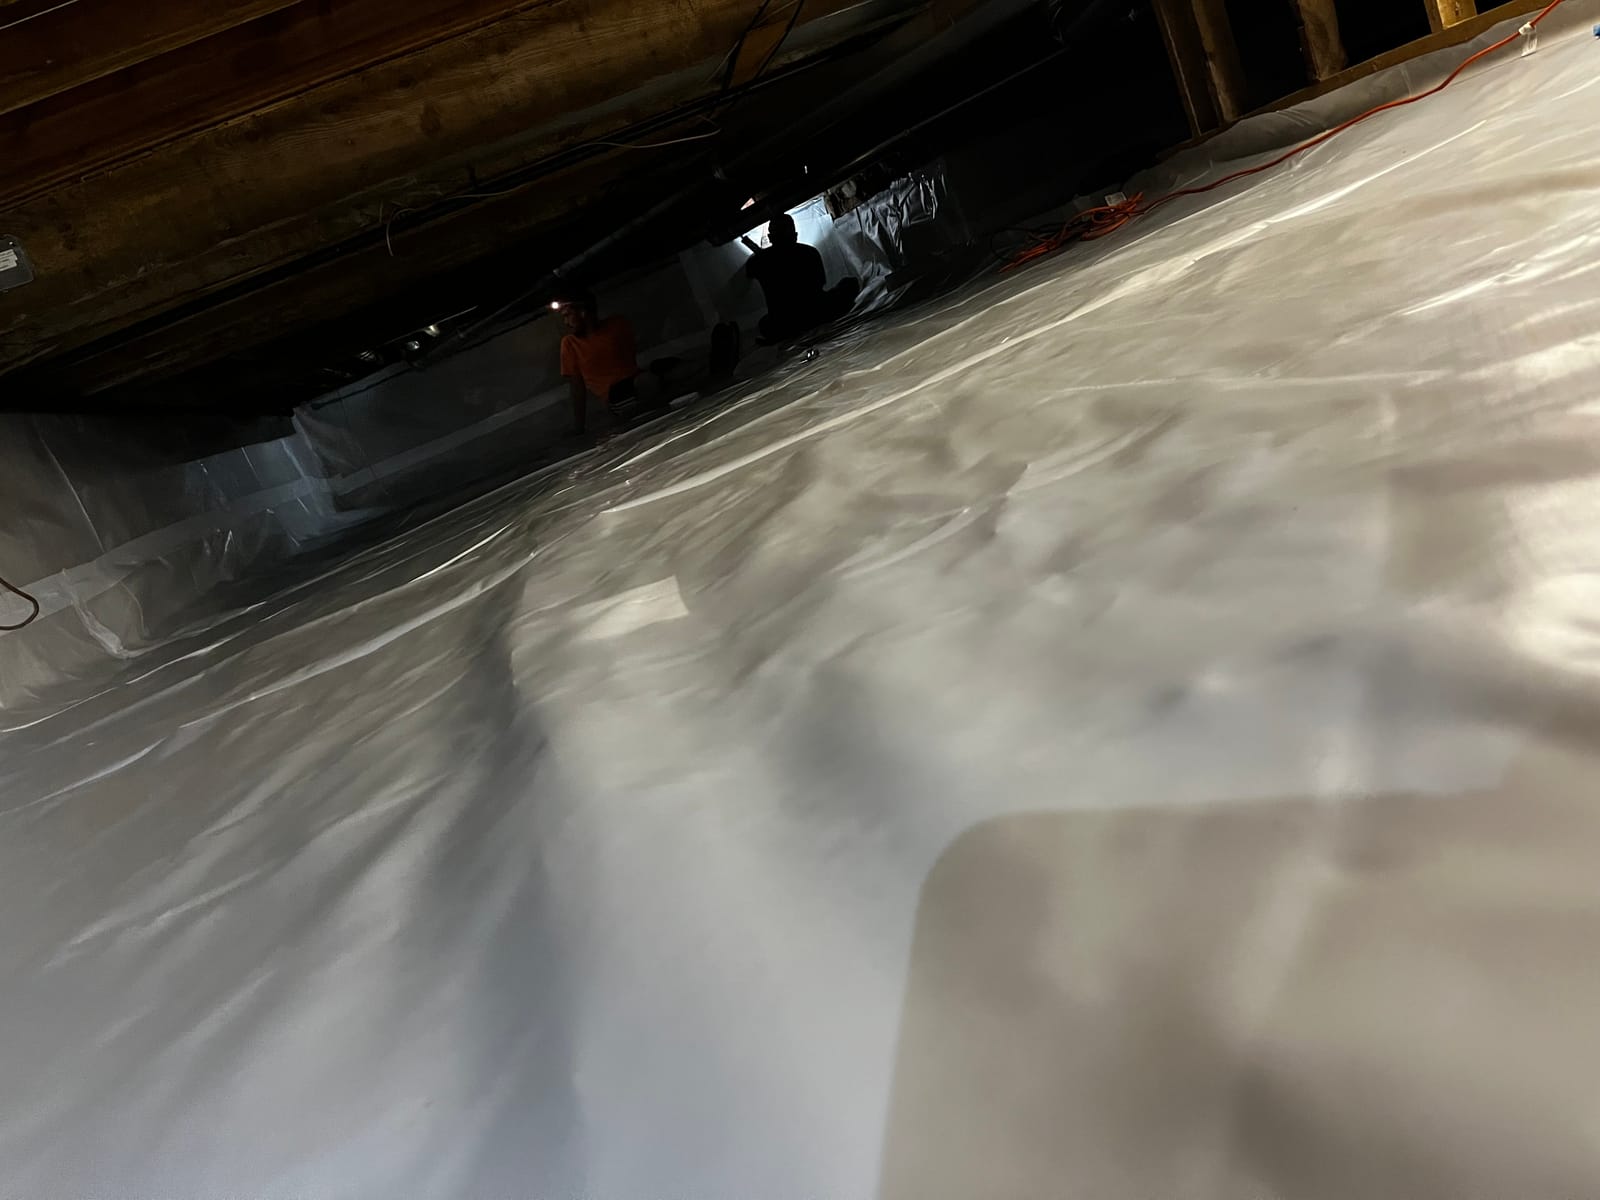
Laying the floor membrane
Sheet being positioned across the full footprint before seaming. Overlaps are run in the direction water would travel and sealed on both faces, so the finished floor is one continuous plane rather than a set of panels.
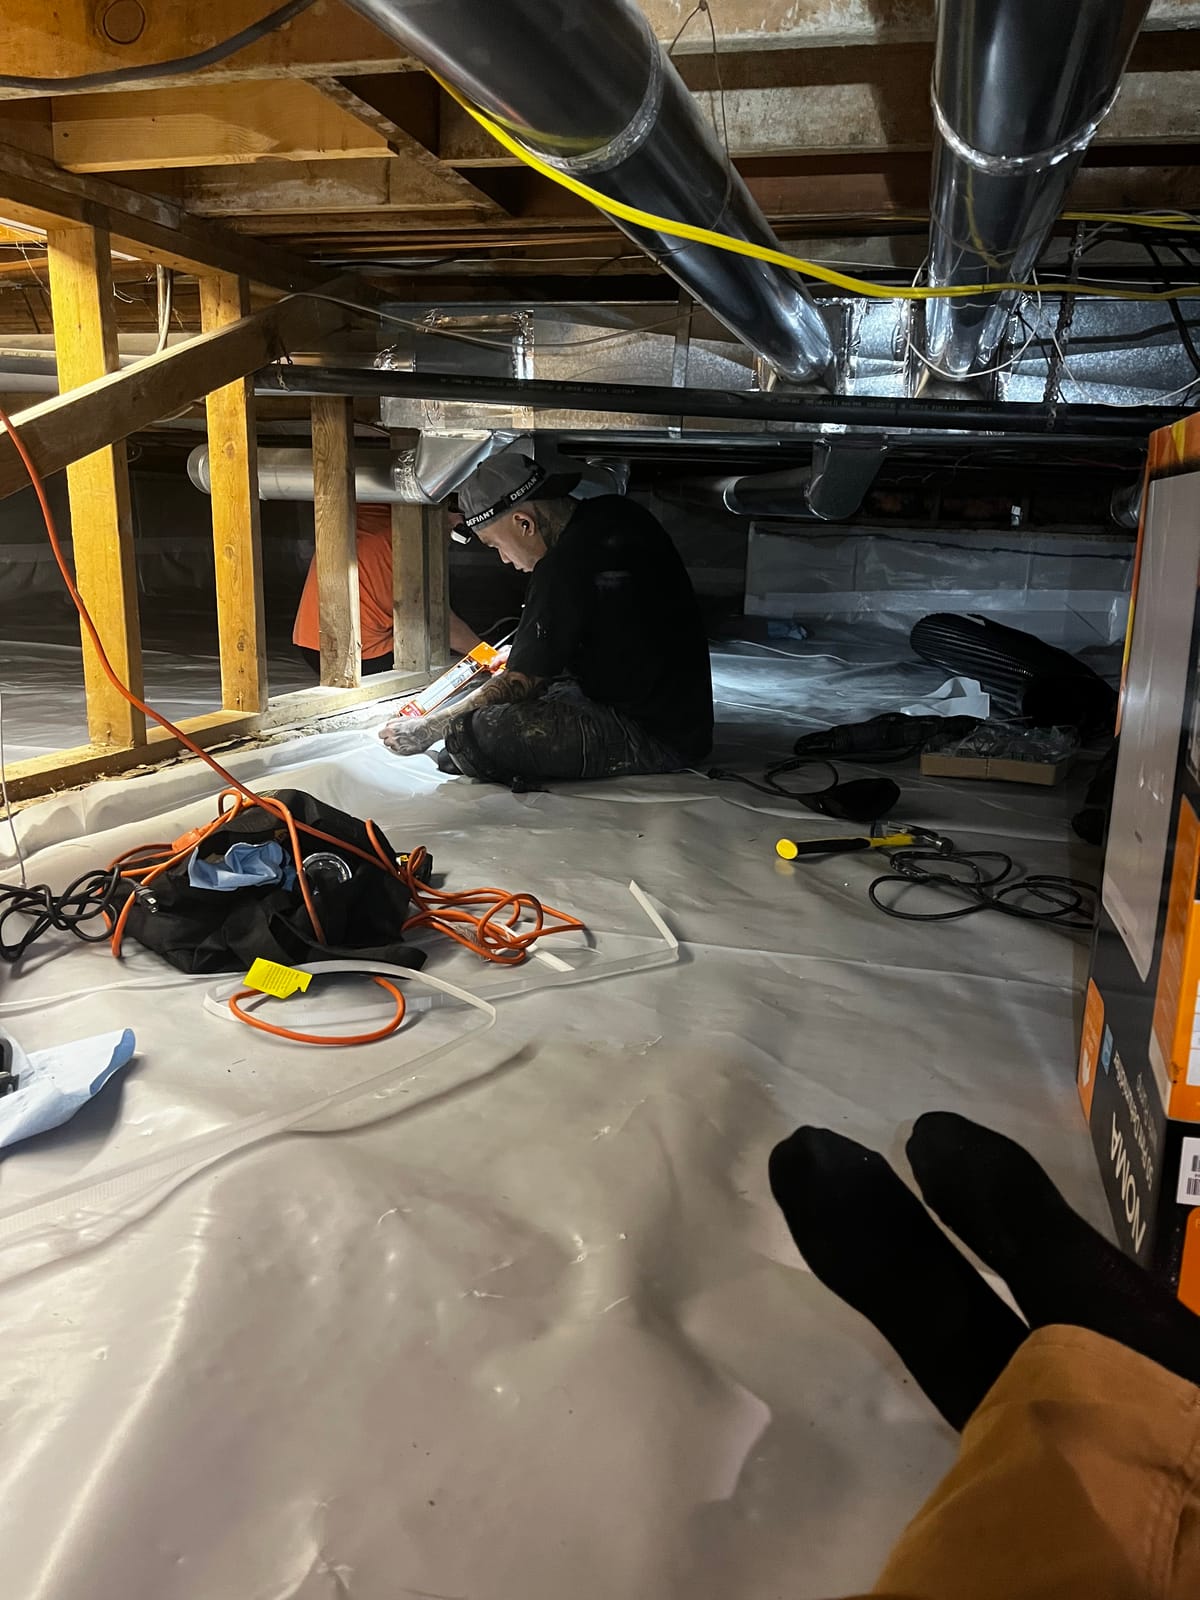
Sealing penetrations by hand
Every pipe, duct and wire that passes through the envelope gets sealed individually. This is slow, unglamorous work done on your back in the dark, and it is the difference between a sealed crawlspace and a mostly sealed one.
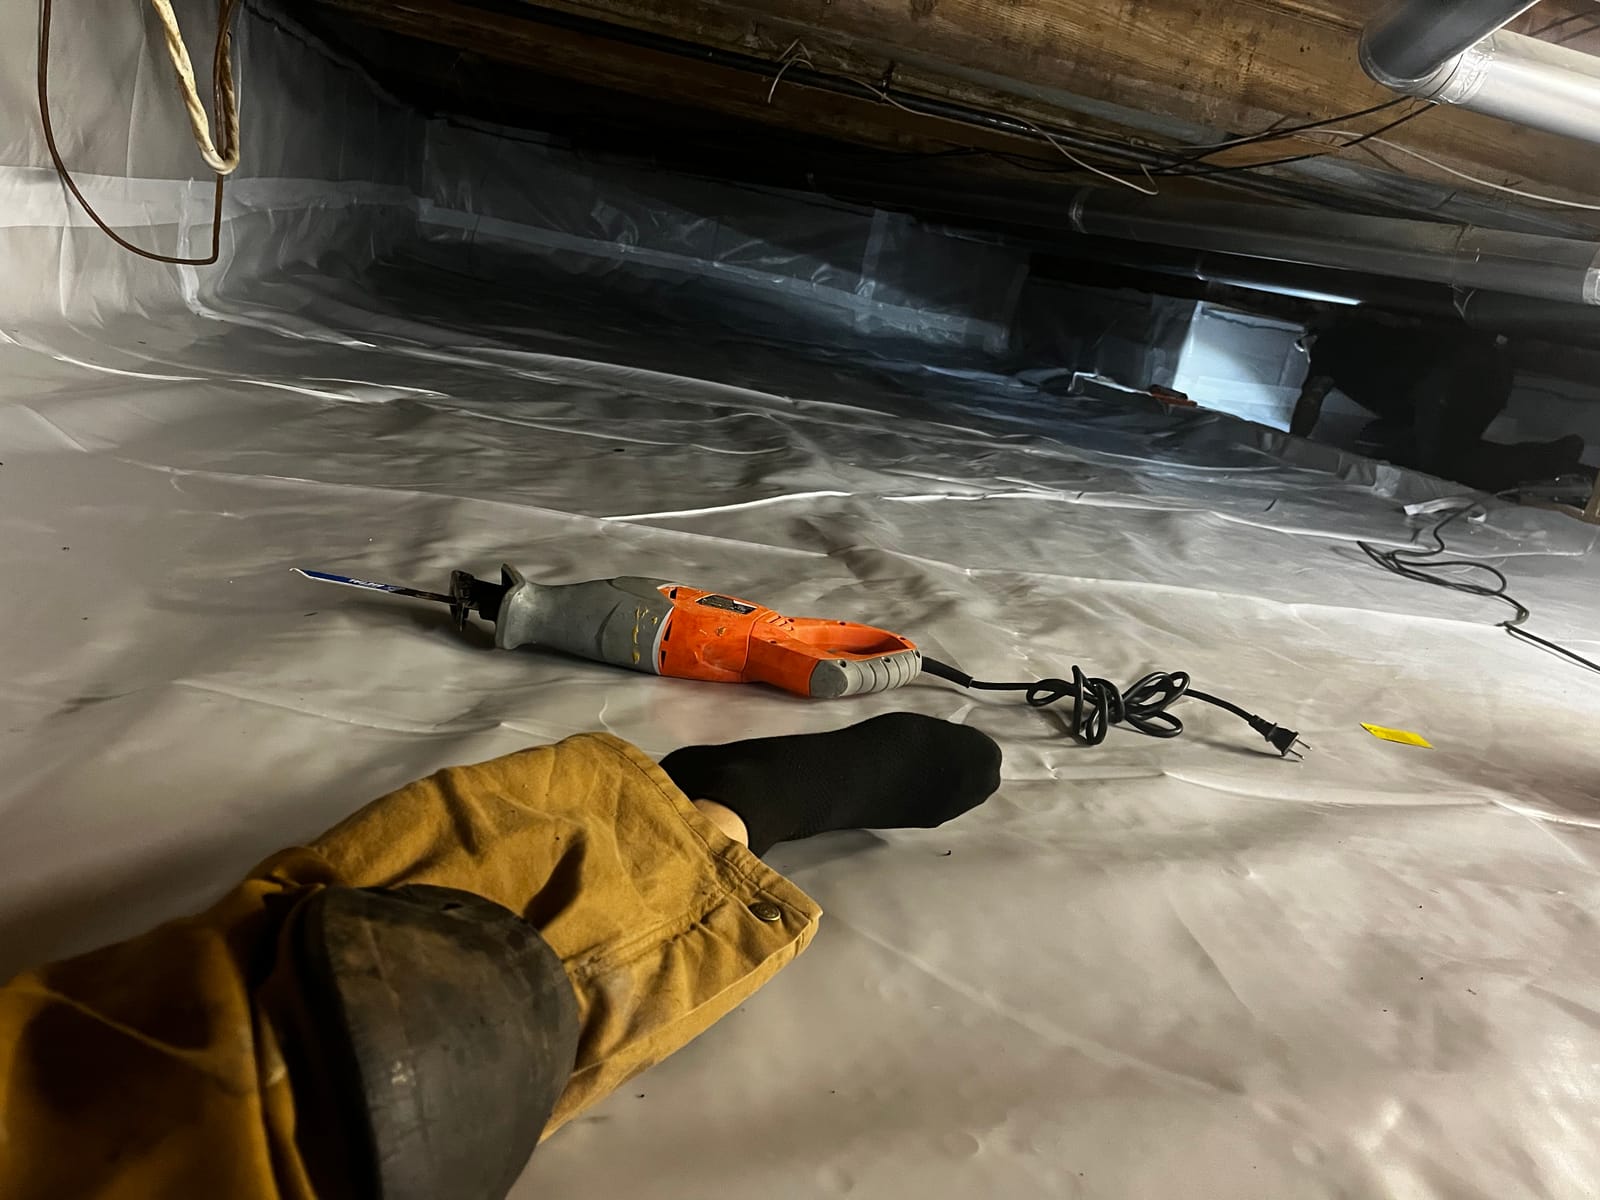
Cutting to fit around obstructions
Membrane trimmed in place around framing and services rather than forced over them. A barrier stretched tight across an obstruction tears at that point within a season or two.
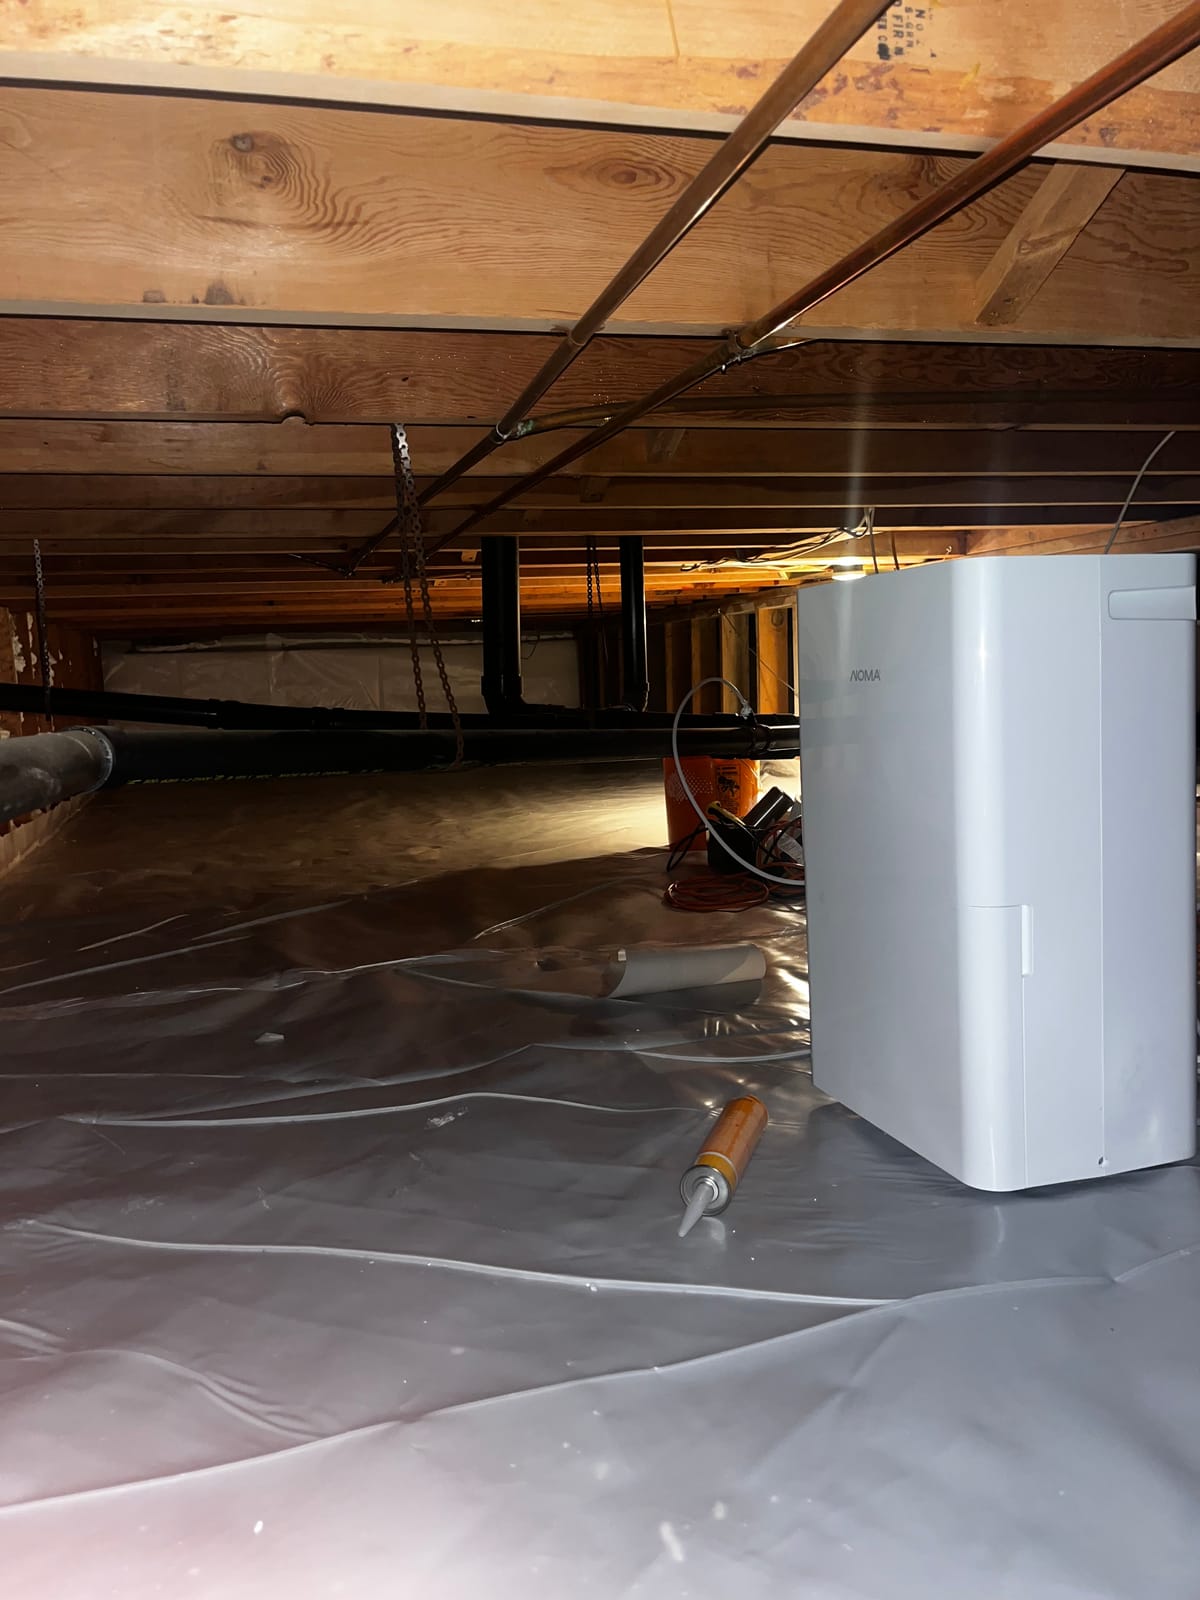
Dehumidifier set on the finished barrier
Once the space is sealed it needs a way to hold humidity down — in Manitoba the target is roughly 55 % year-round. The unit sits on the completed membrane with its drain routed out, not emptied by hand into a bucket nobody checks in February.
On site
A finished crawlspace, start to end of the span
Seven seconds, no narration: the floor membrane run wall to wall under a work light, carried up the perimeter and sealed around the framing. This is what you should be able to see when the work is done — a continuous surface you could lie on, not a patchwork of sheets held down by whatever was to hand.
What these photos are, and are not
These are our jobs, photographed as the work happened — which is why they look like a crawlspace and not a showroom. Before-and-after galleries are the easiest thing in this trade to fake, and a stock photograph of a wet dirt crawlspace beside a bright white encapsulated one appears on hundreds of contractor websites with no connection to the company showing it. We would rather show you the middle of the job.
What we have not done is attach a neighbourhood, a date or a humidity reading to any of them. Those details get claimed loosely on contractor sites and they are unverifiable from a photo, so the captions stay with what you can actually see in the frame.
When you book an inspection you get photographs of your own crawlspace with the readings that go with them — which is the only gallery that tells you anything about your house.